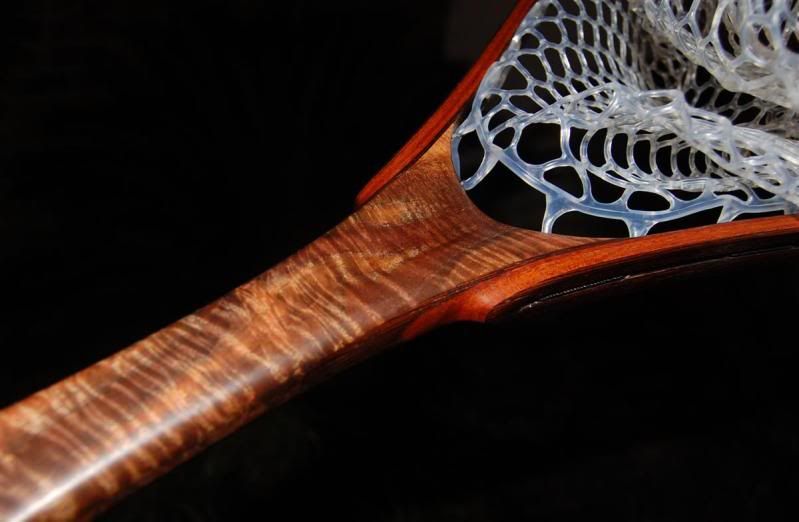
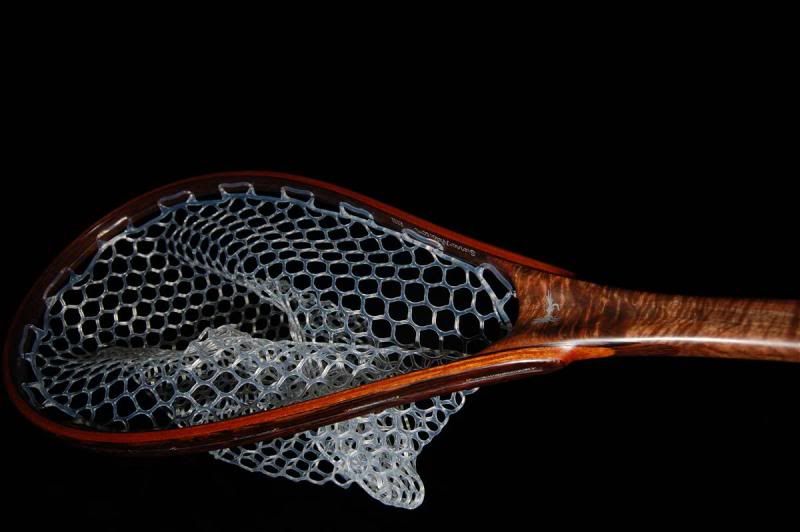
Well, I finally finished Mark’s custom fly fishing net. It came out great. He actually helped me pick out the wood to be used on this net (mark’s quite the accomplished woodworker for those that don’t know) He selected a highly figured Claro Walnut piece for the handle, and Mahogany sandwiched between two pieces of Wenge to form the hoop.
I’ll walk you through the process of building this custom fly fishing net:
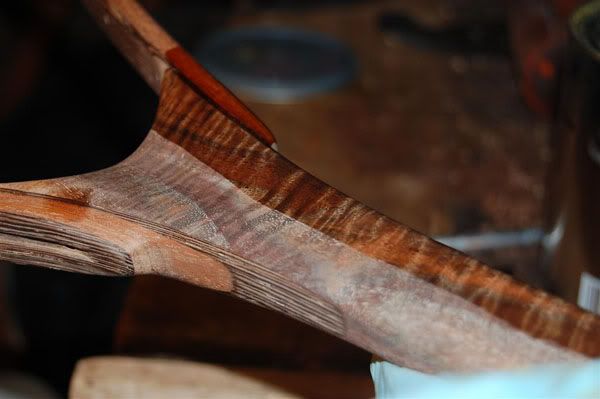
Here are the beginning slabs of tree that were chosen for the handle. It’s highly figured curly Claro Walnut. It is very NOT FLAT at this point. Note that I cut out an oversized handle blank .
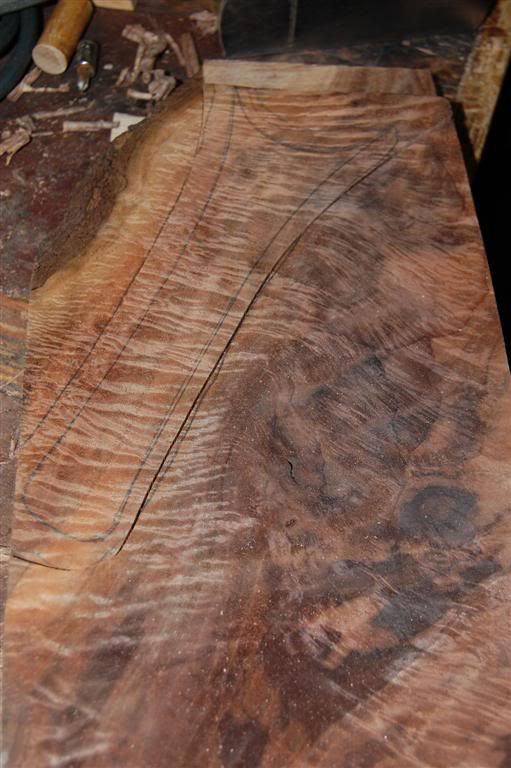
Note that there are two book-matched pieces that must be glued together to form the handle. This actually makes the handle even stronger than a single piece. This is why I needed to cut the handle oversized. When you clamp the 2 pieces, they inevitably slide around a bit.
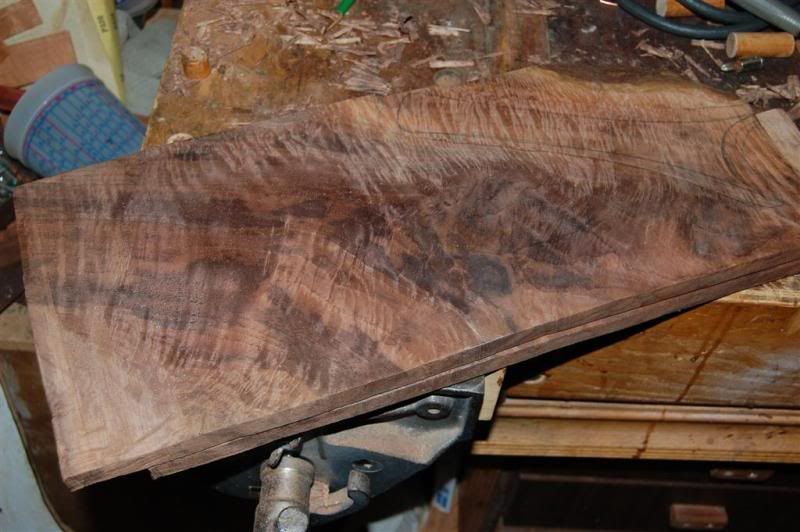
The two pieces now need to be run trhough a drum sander to flatten them out for glue-up.
These are the oversized handle pieces being glued up
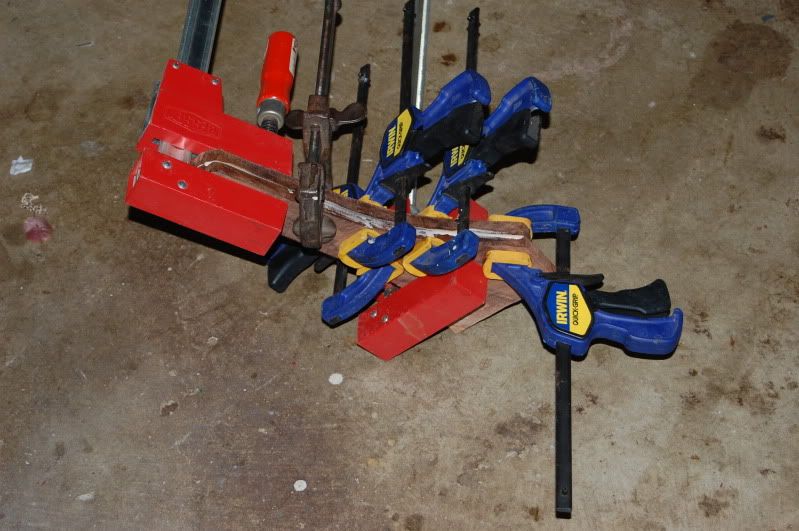
Here is the glued up rough handle blank.
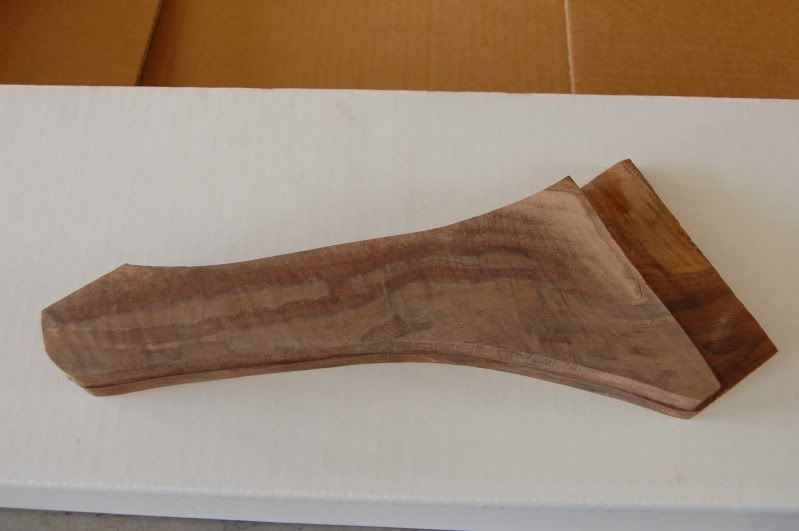
I use acrylic handle templates so I can position the template over the most beautiful parts of the grain.
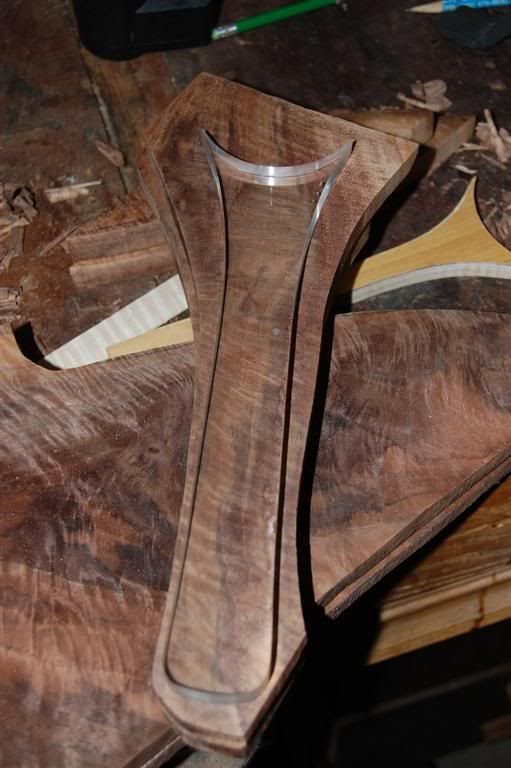
The handle just after roughing it out on the band saw.
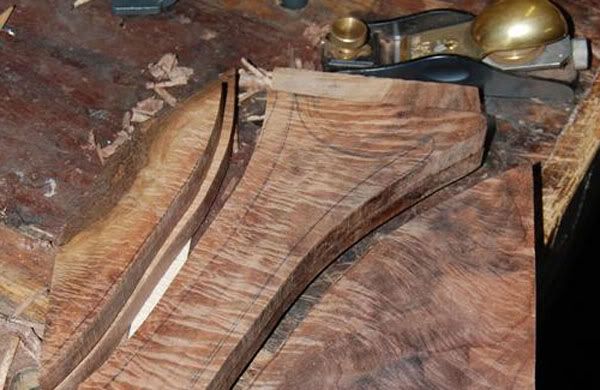
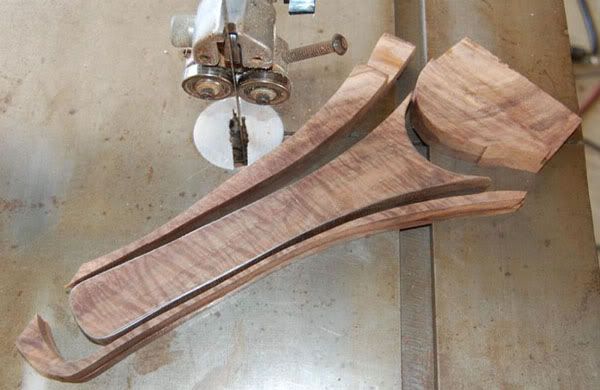
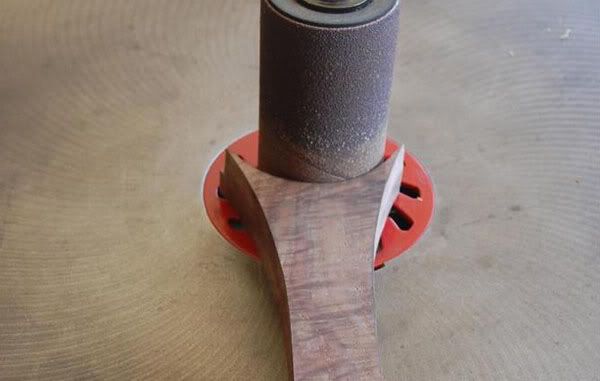
Using an oscillating spindle sander to shape the handle and prepare it for glue-up.
Here, I begin the glue up on a platen that is later removed.
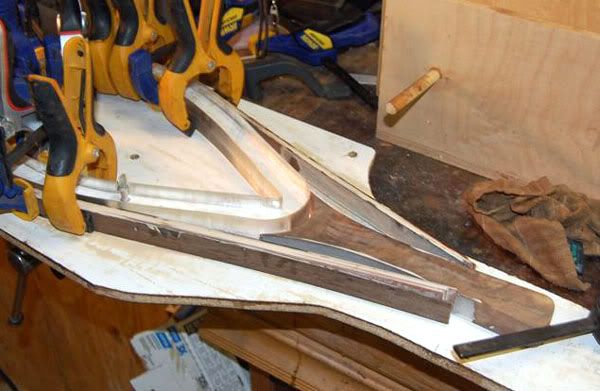
Near the end of the glue up phase.
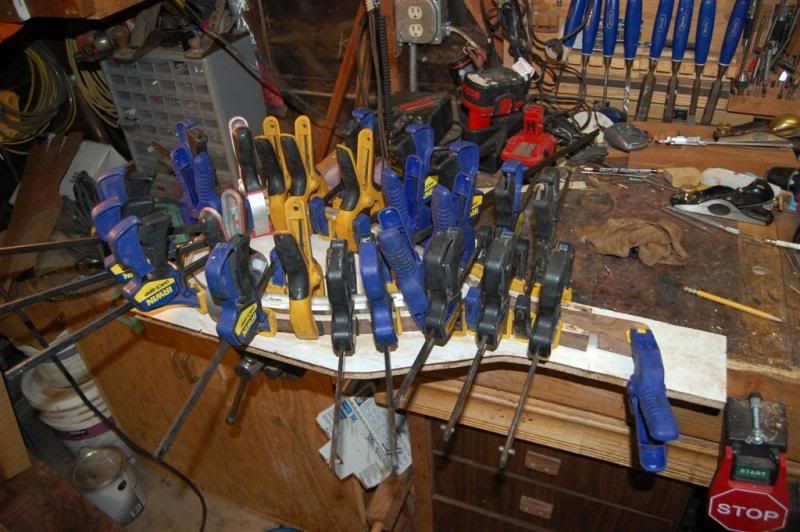
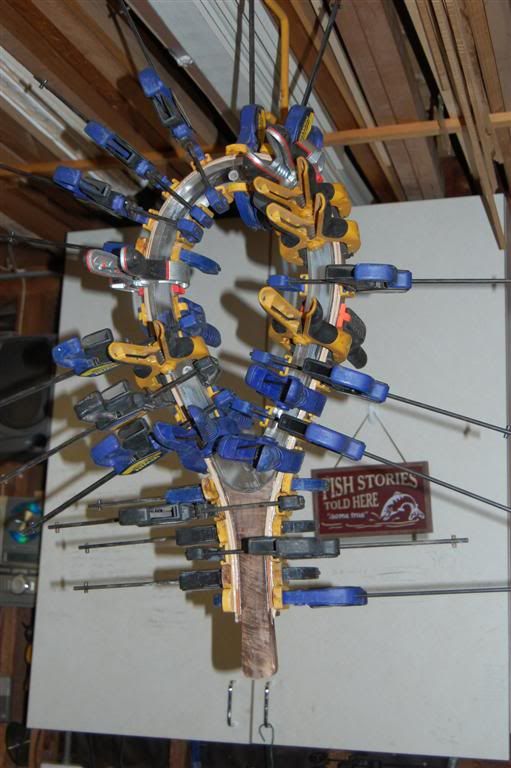
Here, after removing the platen, adjustments are made to the clamps and handle, and the net is hung out to dry for at least 24 hours.
Filing down the center contour of the handle.
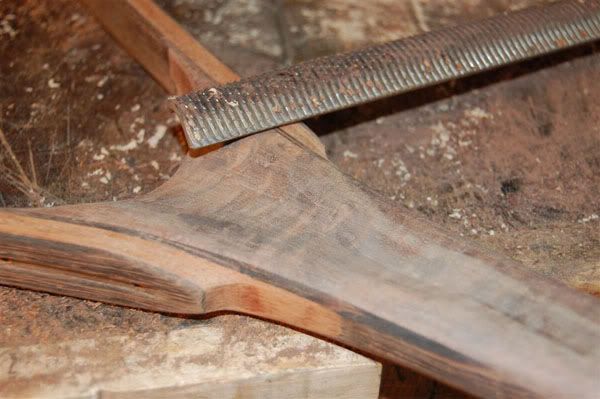
Here, I use a Japanese rasp to contour the handle. This part is all done by feel.
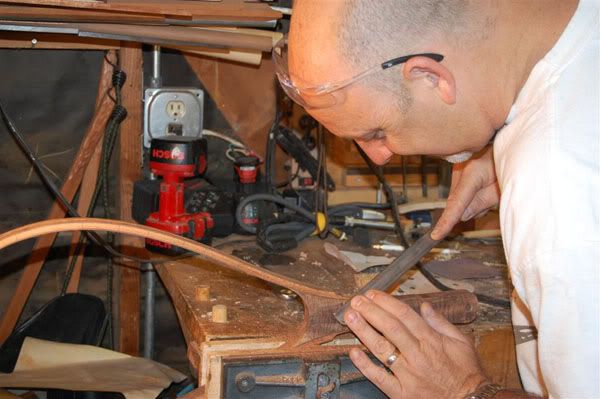
I sand from 80 grit to 100 grit, to 150 grit, to 180 grit, to 220 grit to 320 grit, to 400. Here, I’m sanding with 400 grit sandpaper: That is so fine, it feels about as smooth as your skin and it barely removes any material. Also, note the spot light i use to check for minute scratches from previous grits. This keeps them from popping up at finishing time. Each net is inspected like this through each sanding & finishing phase.
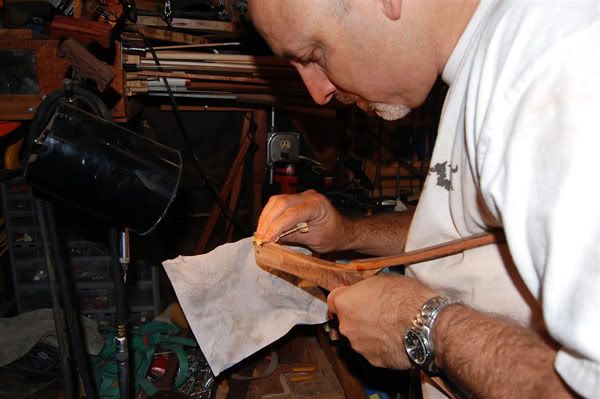
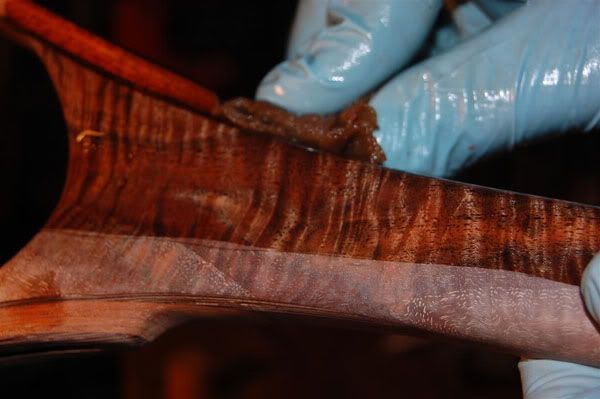
First coat of recipe 1 of 3 of my proprietary oil mixture. Each coat get at least 3-4 applications and is wiped off almost immediately.
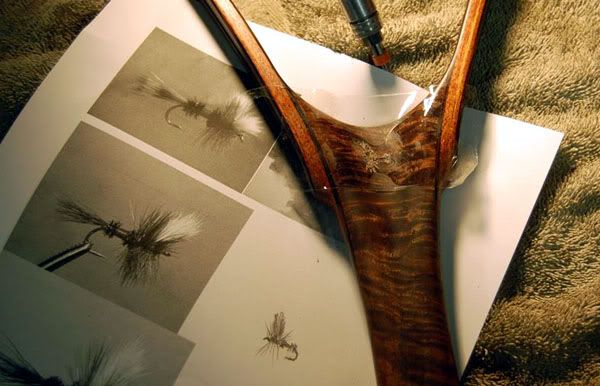
After carving the fly with both a high speed .0157” router bit, and an Exacto knife, I tape over it so aluminum doesn’t get stuck in the surrounding grain holes.
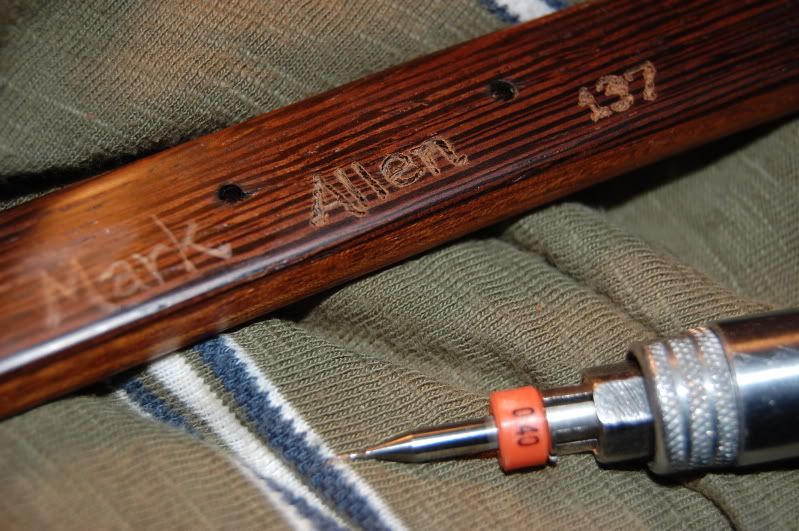
Same goes for Marks name which was also inlaid in Aluminum in to the hoops inner face.
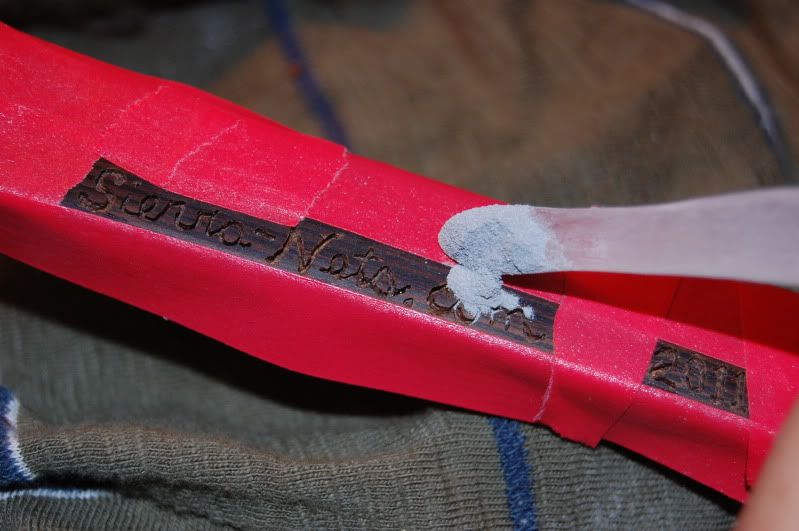

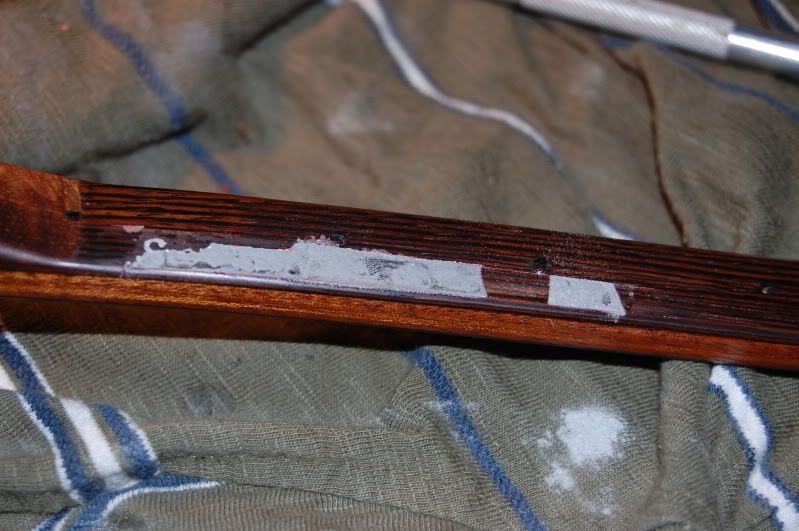
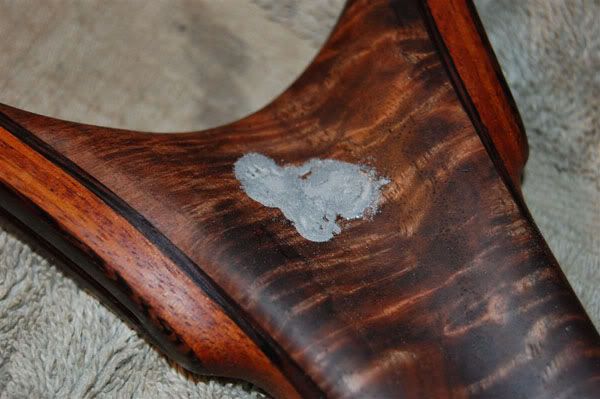
Here, the aluminum filings have been added to the fly carving and a permanent adhesive ensure it never leaves. This is before filing and sanding the “hump” left by the tiny filings.
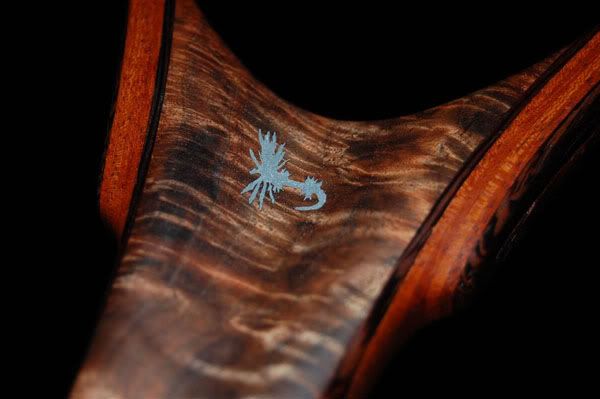
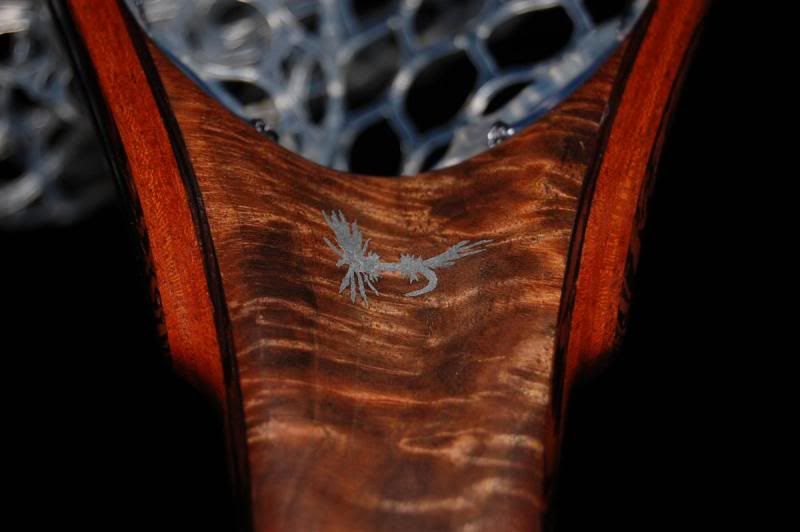
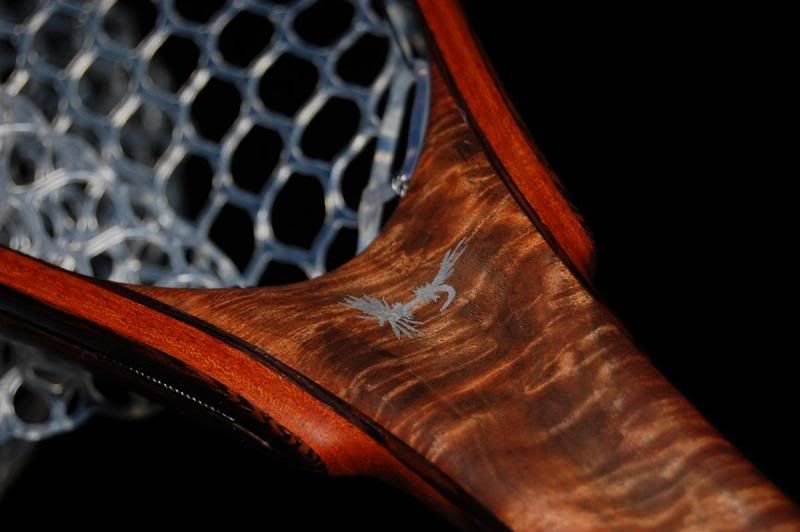
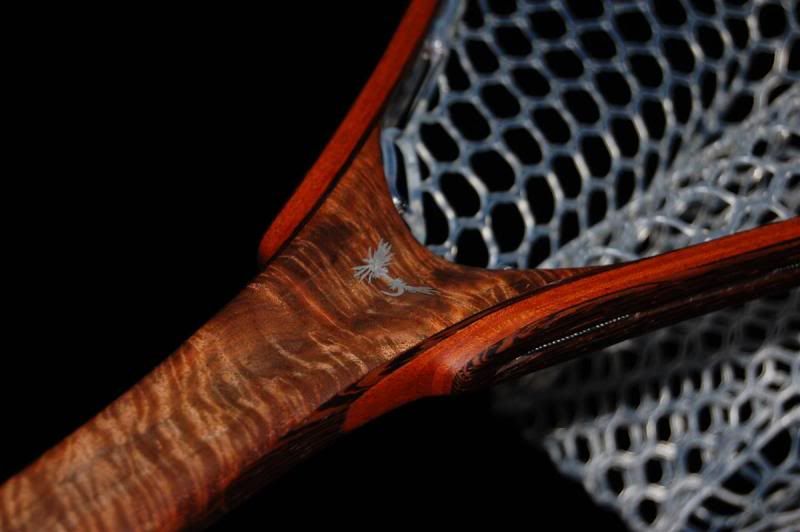
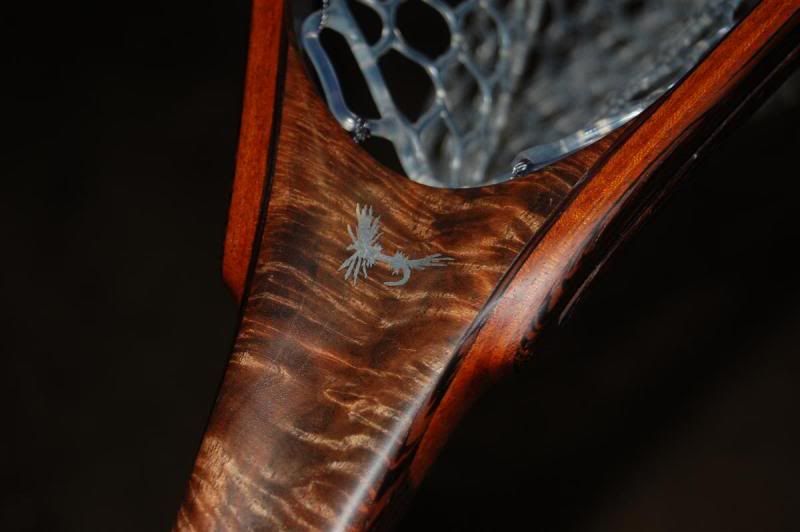
A finished close up of the Aluminum Fly inlay. No net yet. AND the sharp-eyed tyers may have noticed I forgot the tail! DOH! I added it later.
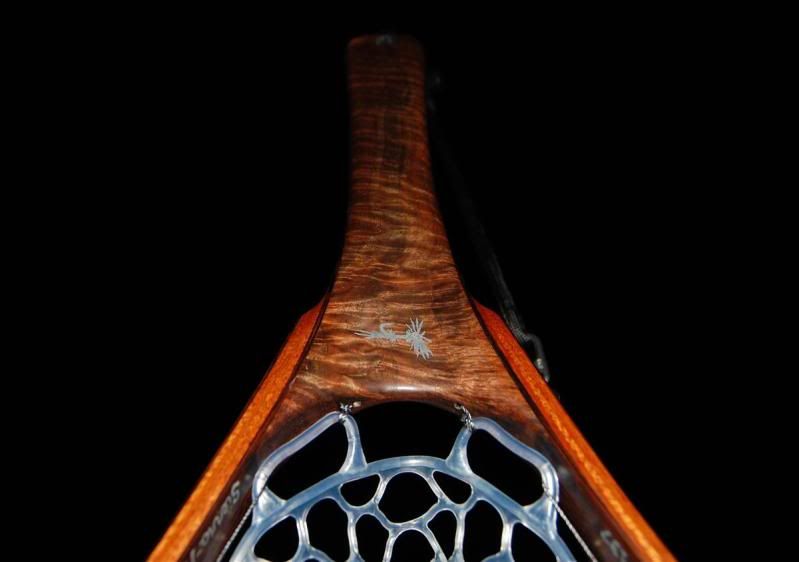
Finished w/o net.
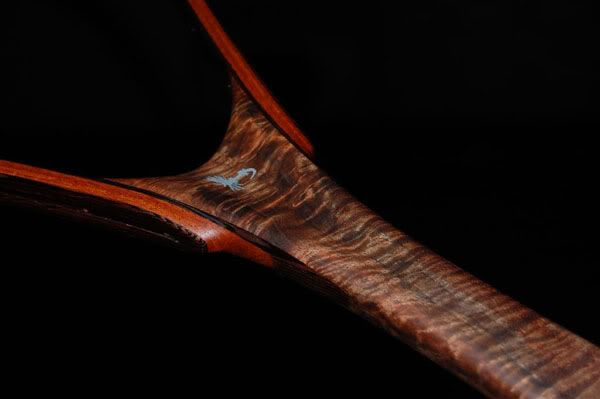
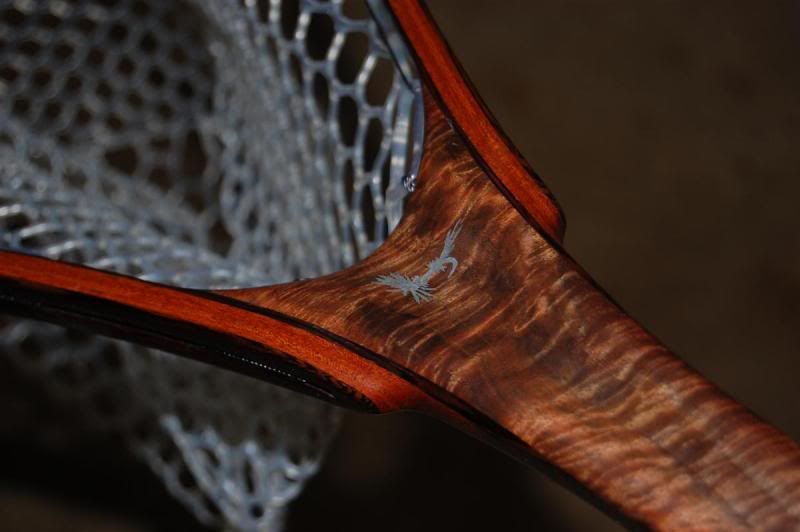
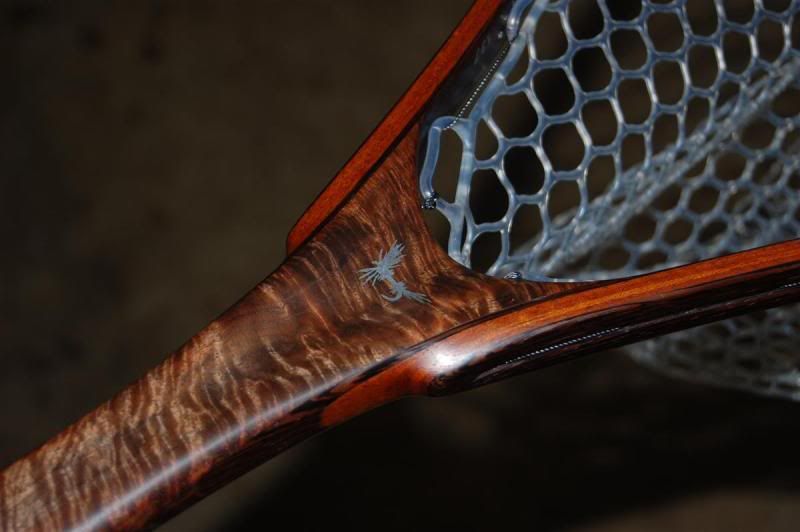
Nice views of the finished handles.
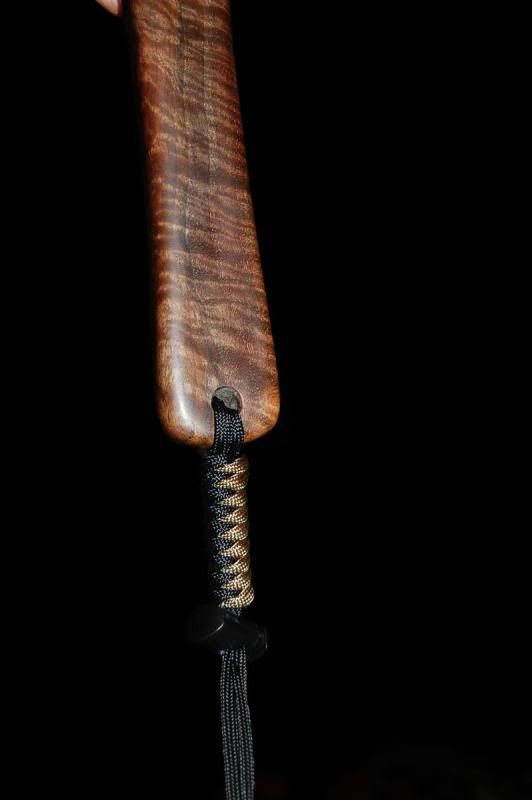
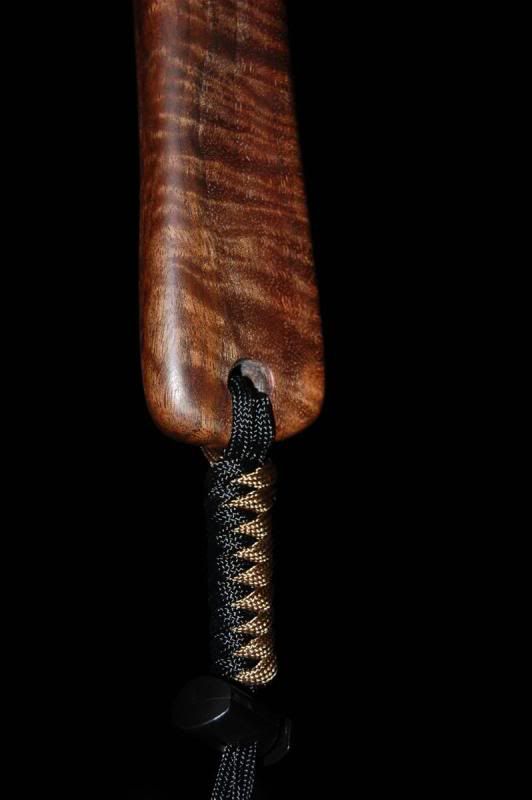
This is a custom built stretch net safety lanyard built for Fly Addict. It is about 10" long and stretches 5 feet. All hardware is stainless steel, and the red loop is for him to attatch the net safety lanyard to his waders belt. this is cheap isurance!

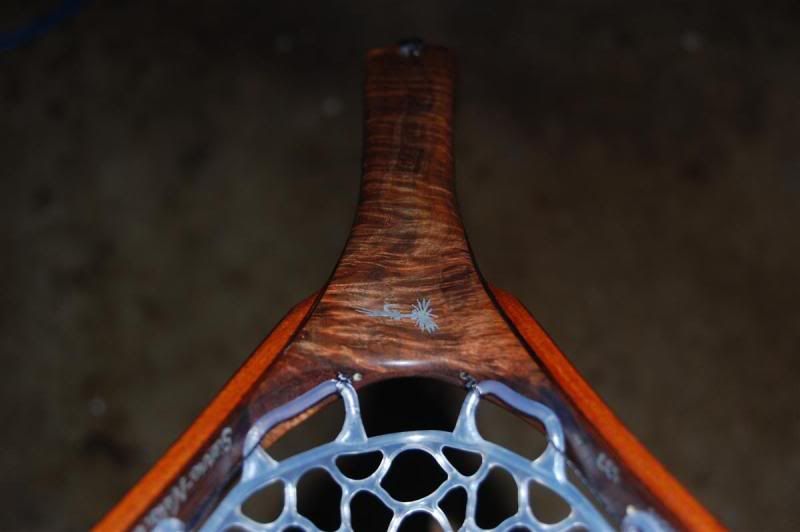
Close up of the finished inlay of a Royal Wulff.
Hope you all enjoyed this. It was a fun build, and my fly club went gaga over this net more than any other. Have fun with it Mark!
