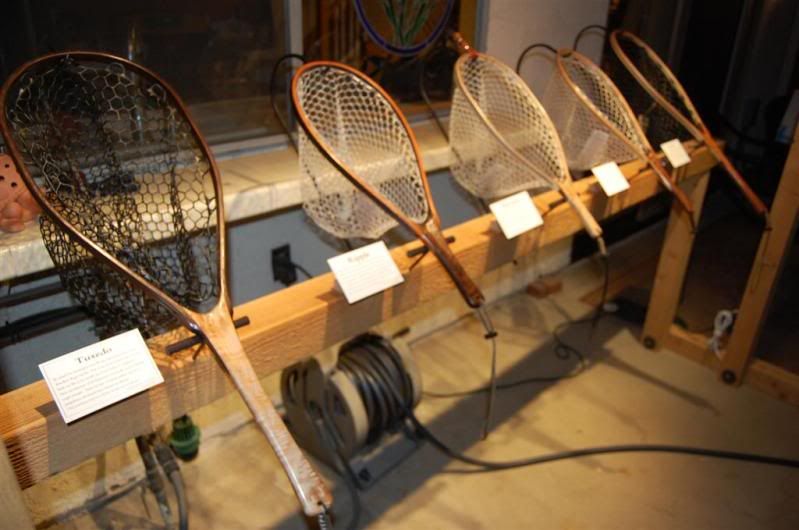
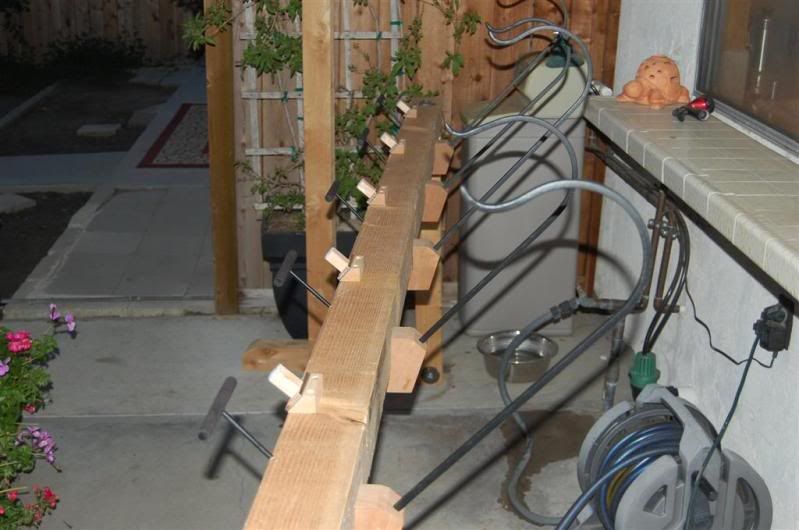
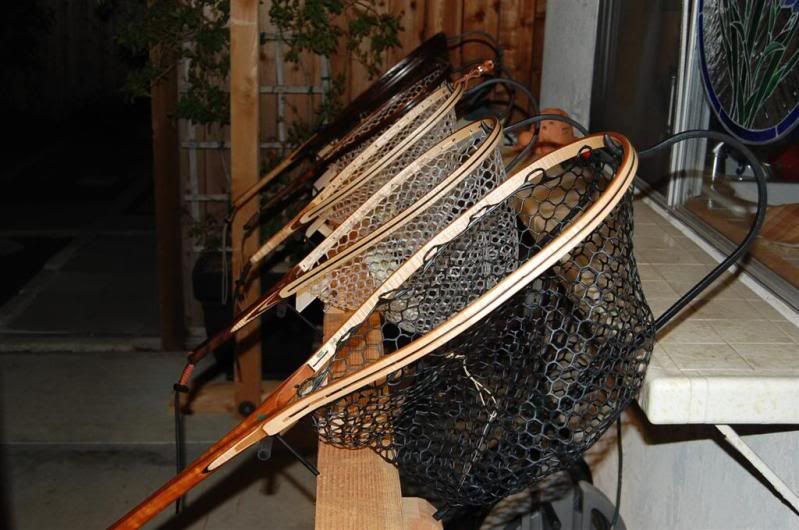
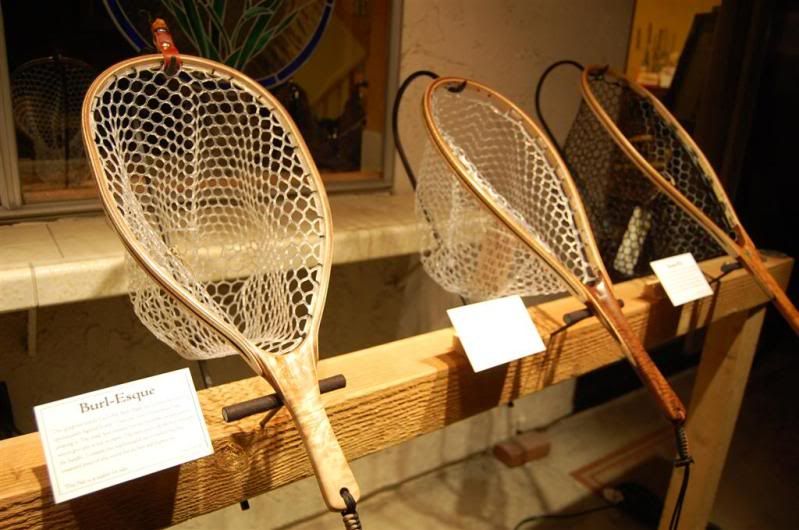
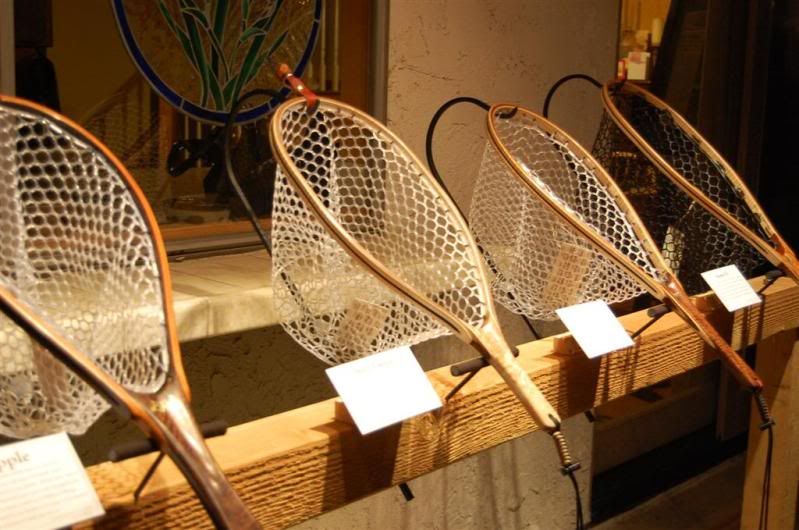
The building of the display has been quite rewarding. I love the process of figuring things out almost as much as the end result. My biggest challenge was how to display the nets where the figure will shine through like it would streamside. I settled on using shepard’s hooks (used for gardening) to cradle the nets. The biggest challenge was how to make it adjustable for large and small nets alike. I wanted this, but had nothing to begin with:
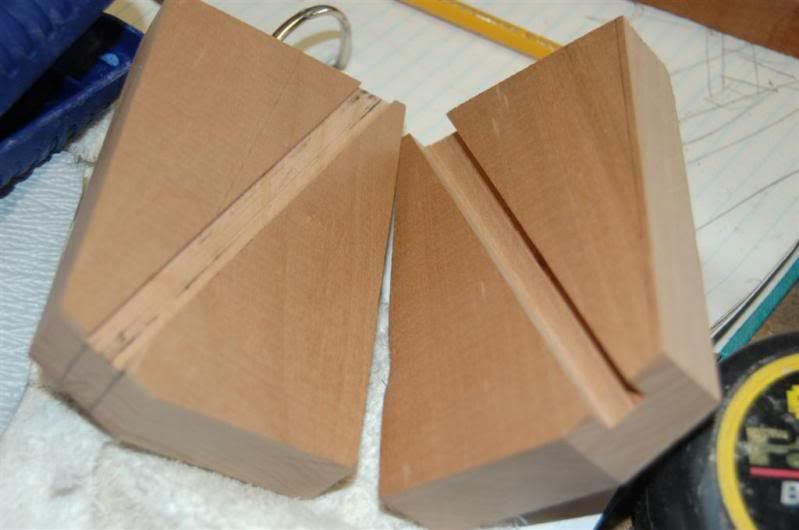
I came up with a pretty neat little solution. I used some cherry scrap and dadoed out half a channel on each half to accommodate the ½” square steel shepard’s hook.
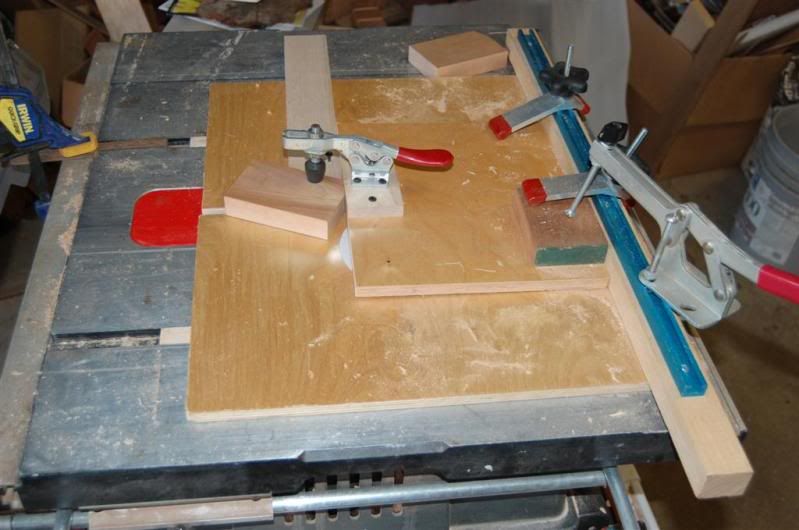
There were many steps and plenty of jigs to create all of the facets on each of the 5 blocks.
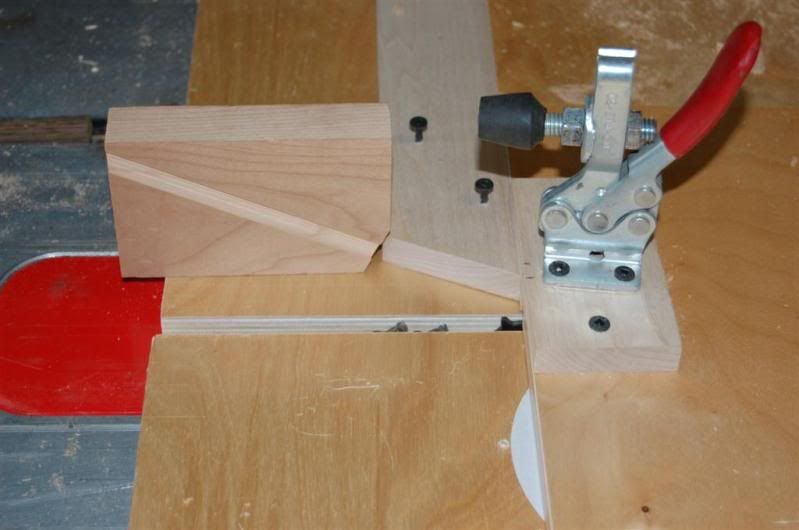
Here, I have a block mocked up on a modified shepard’s hook. We cut them in two places, ground down the tips, and dipped them three times into liquid plastic to protect the nets.
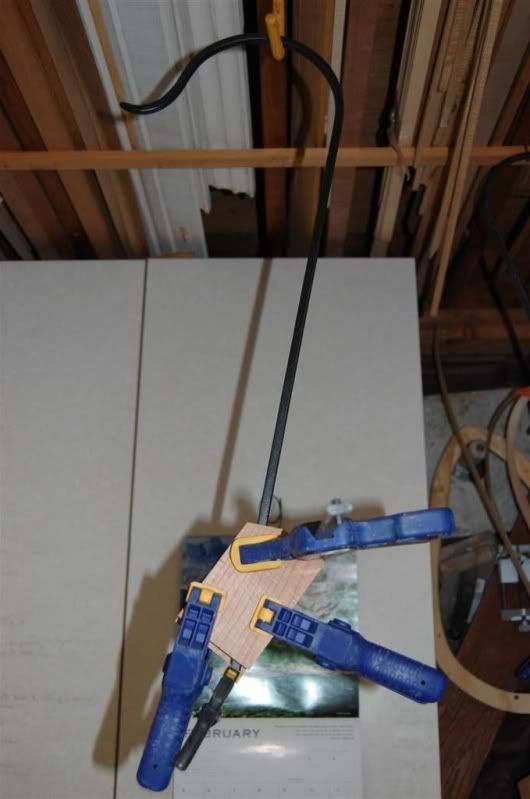
Then, I glued them all up, being careful to align the channels for smooth sliding later on.
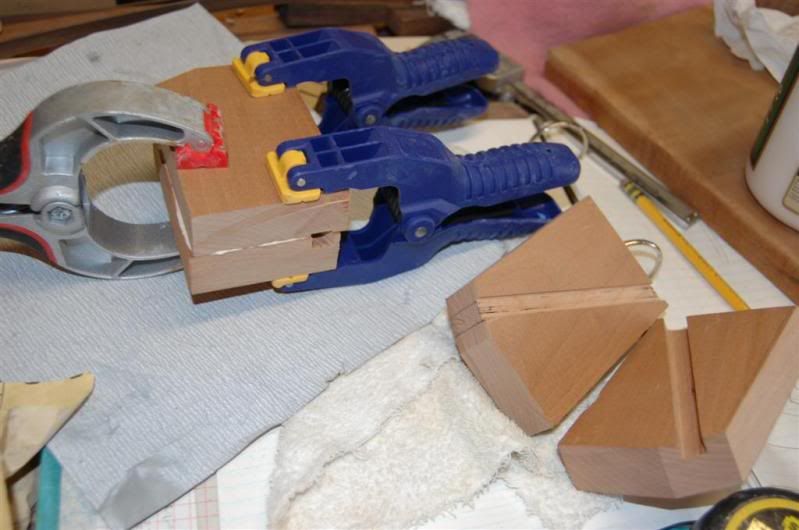
I then notched them, predrilled them for screws, placed a metal threaded insert on the side (for locking them in place.) Note the one on the right has a piece of the shepard’s hook scrap locked inside it.
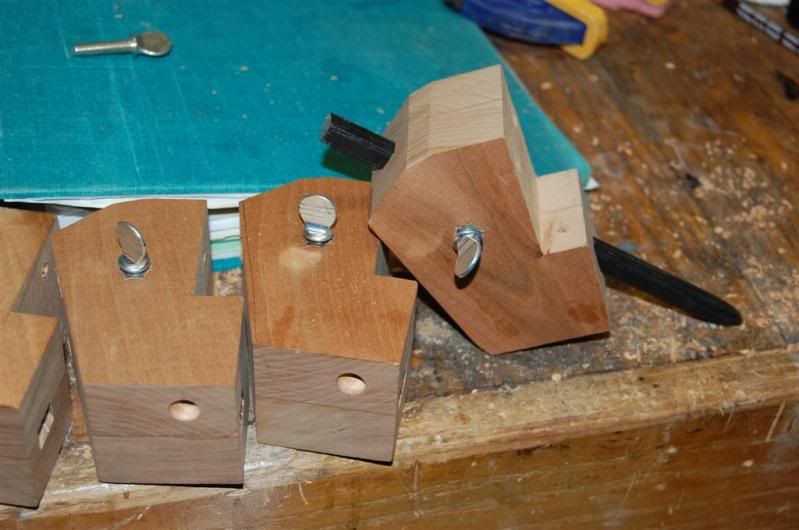
Here you can see how they were mounted to the “hitchin’ post” with 3 screws.
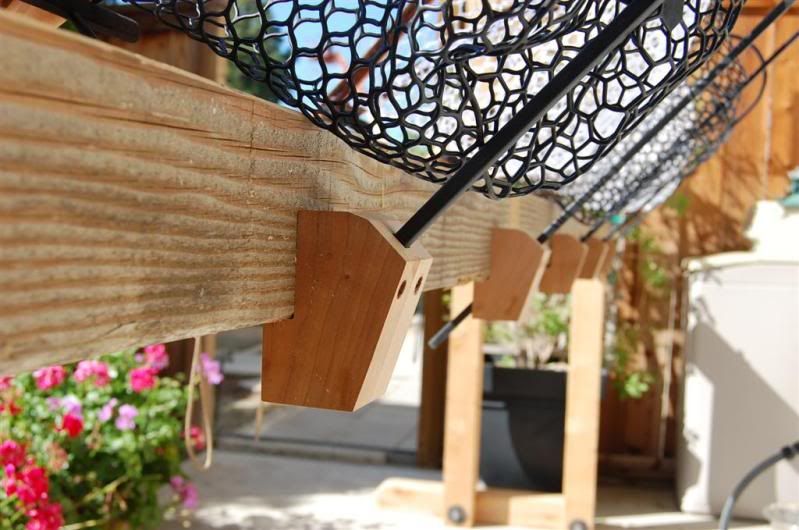
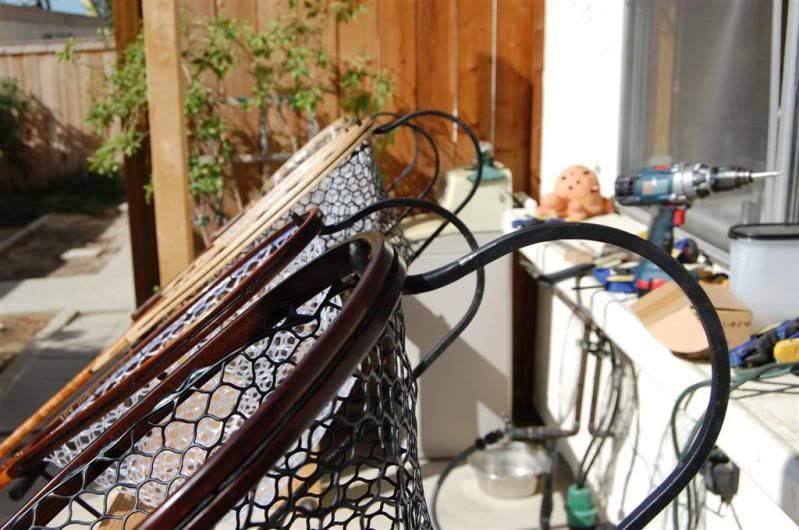
So my next challenge was how, if at all, was to get the net handles up and off of resting on the “hitchin’ post.”
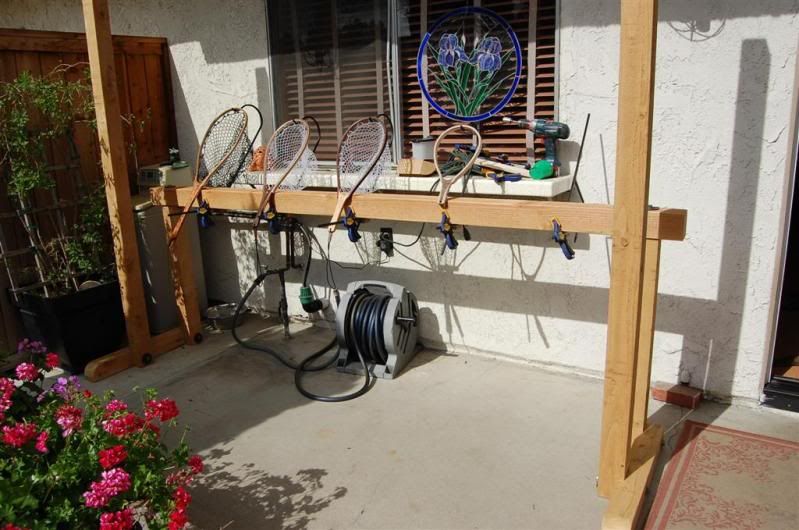
I settled on using wood dowels. I glued black felt (The single red one is my 1st prototype which my wife PROMPTLY put the kibosh to!) on the top portion which the net handles will rest on.
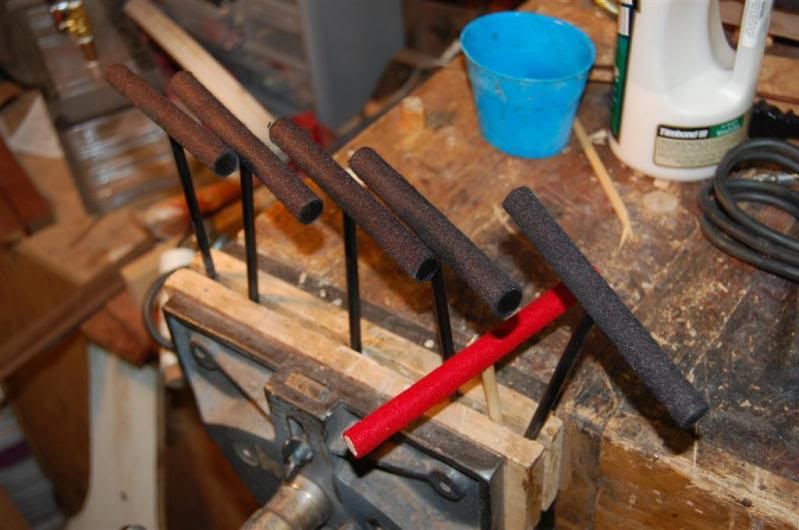
I created a little jig to drill 5 quarter inch holes directly in front of each hook.
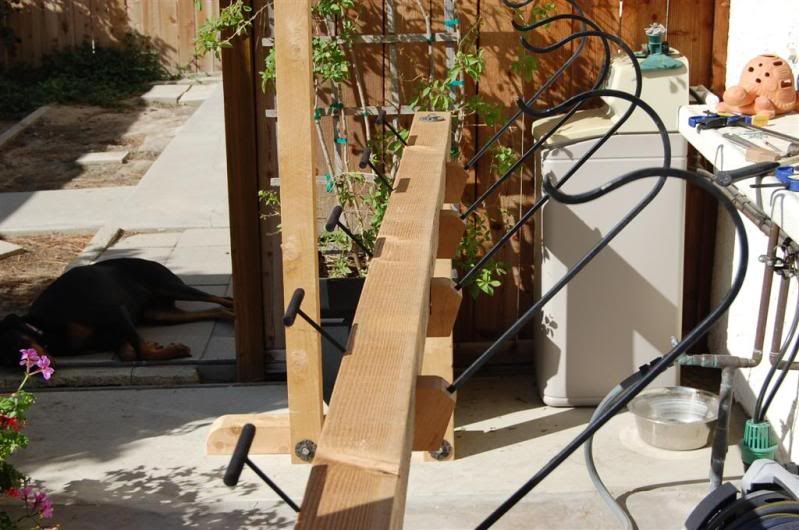
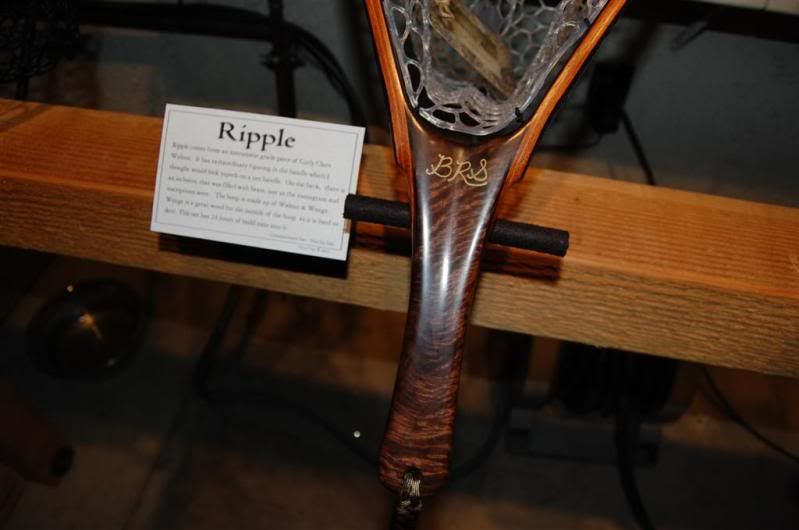
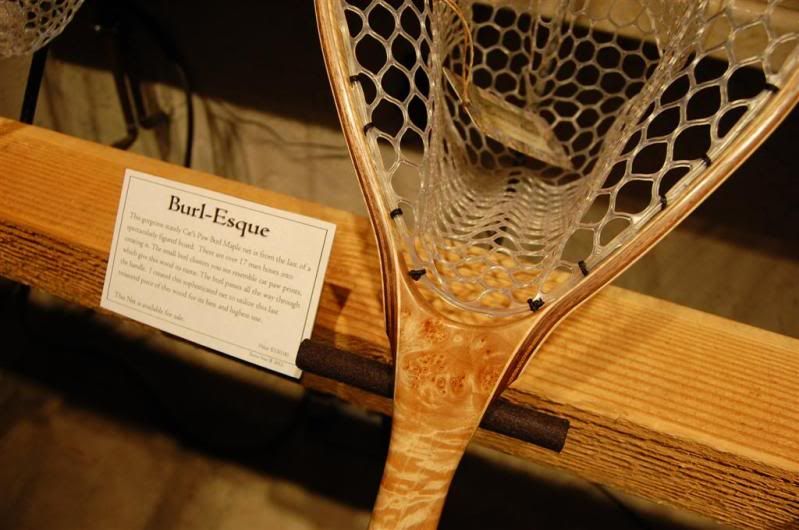
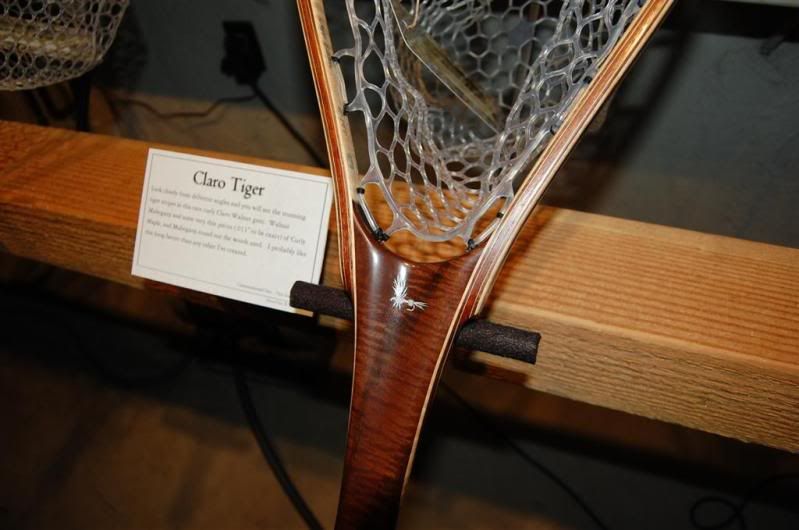
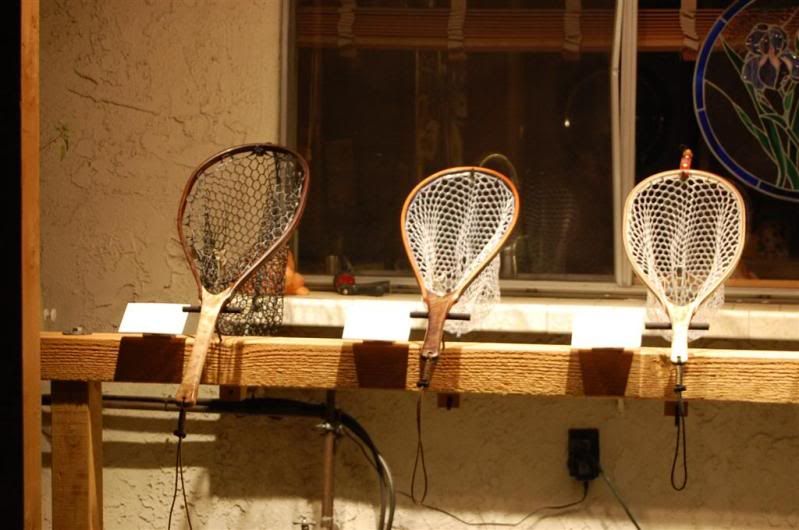
This picture shows the stand-off mounts for the 3.5x5.5” museum-like information cards I created for each net. The cards were printed on regular paper and glued to picture matting for strength. Each net has a name, much like a sculpture would have. The cards have the name and a little story about the woods, or how I built it.
The tips of the little wood blocks (Next to each black T) have Velcro on them, and every card has mating Velrco on its back. This makes all nets and their cards interchangeable, QUICKLY.
Here, you see the cards mounted for the first time. I like the look!
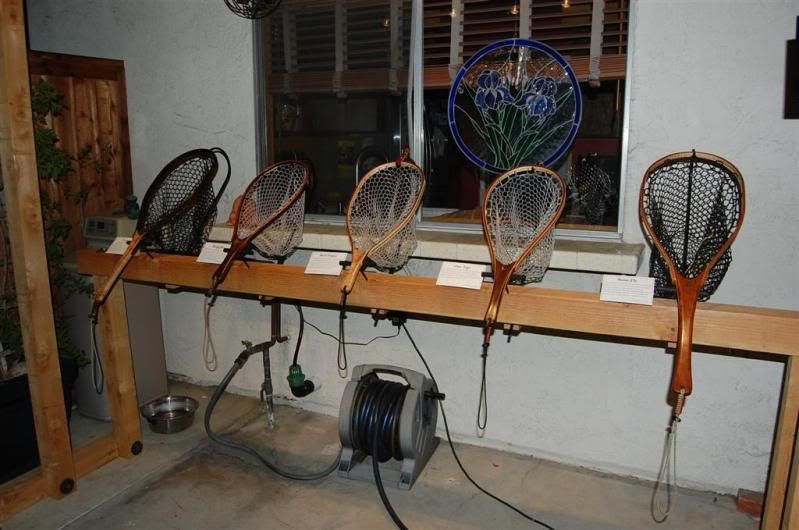
The track halogen lighting doing its thing.

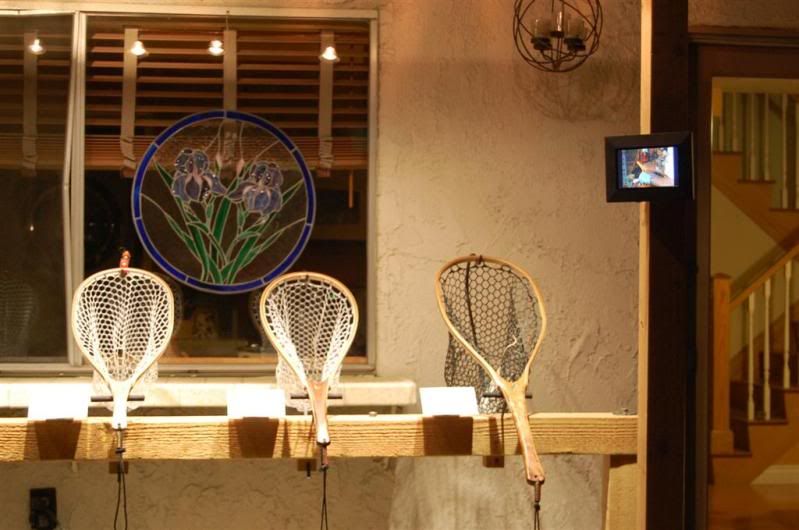
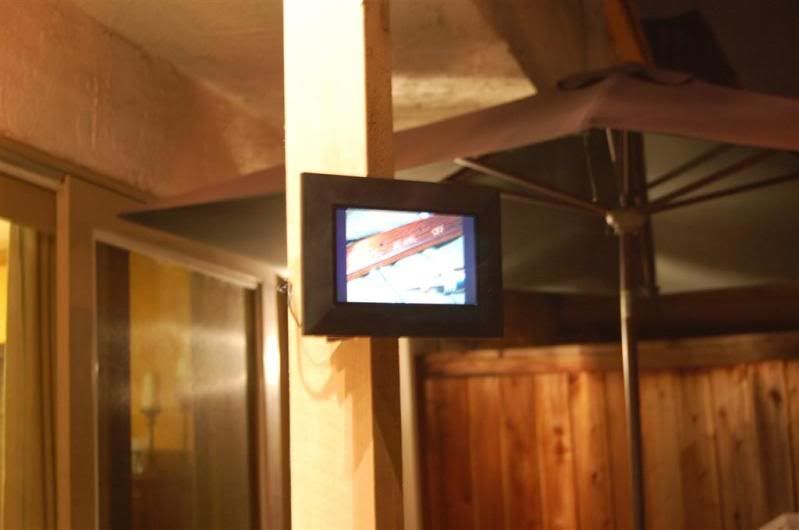
This is a video picture frame that I built a makeshift custom mount for. I simply wanted it to swivel, but NOT fall off if hit. It will display looping pics of net in process.
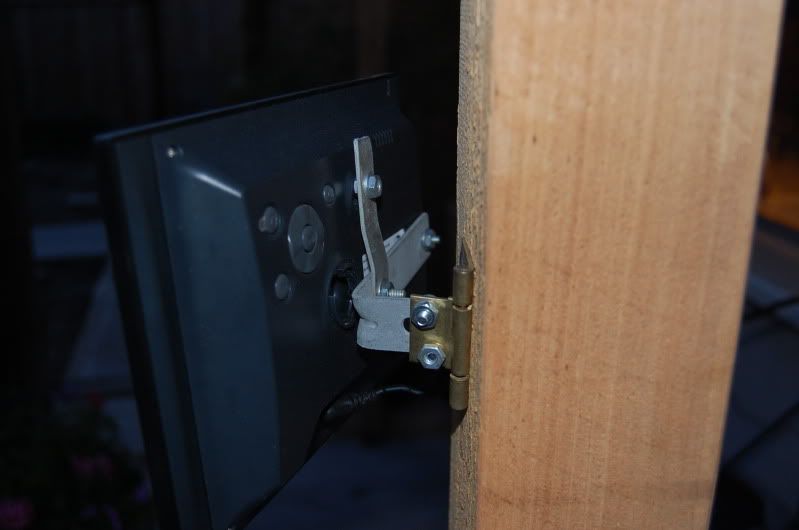
The custom digital picture frame mount.
It’s nothing more than some L brackets I cut up and bolted to a hinge, and to the Keyholes in the back of the frame.
This pic is demonstrating how I can take a digital logo and carve and inlay it into a net.

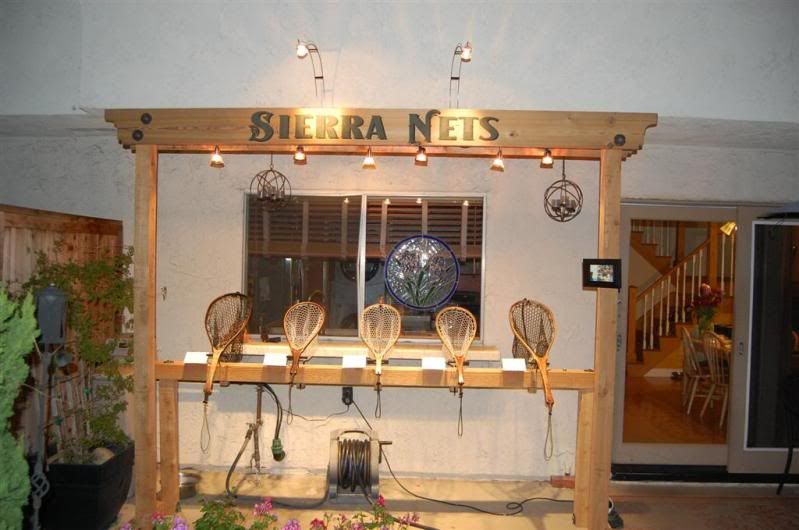
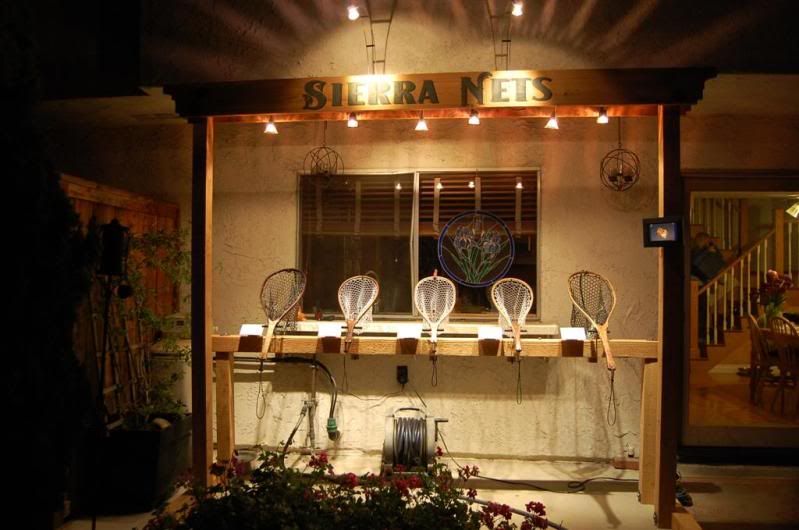
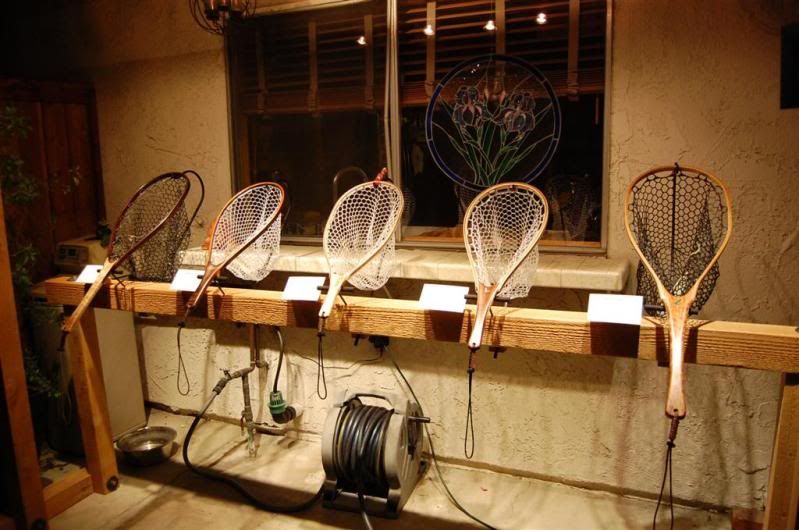
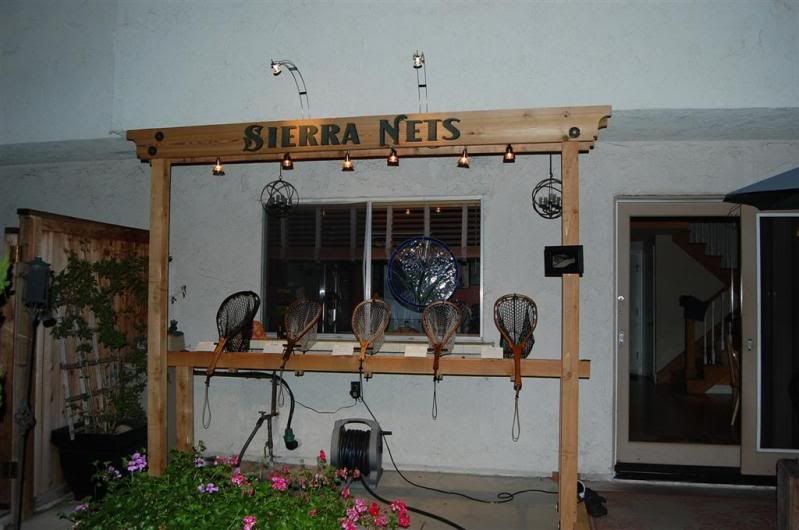
This is the final Setup! I am very pleased with everything. I can assemble this in 20 minutes.

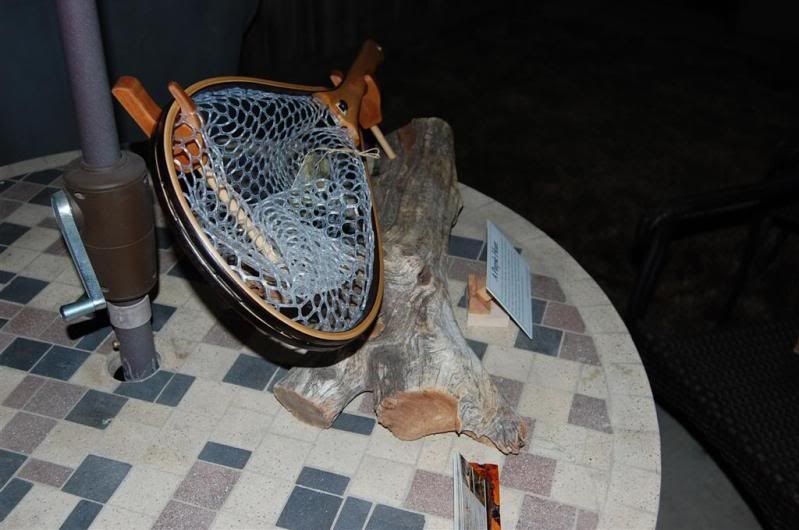
This is a display stand I came up with to place on a small table at the front of the 10x10’ booth to draw people in, hopefully. It can hold a net of any size, and again, the little card stand I made, has Velcro on it so the cards can be moved around with its respective net. This is a purpleheart net I built for an injured US soldier.
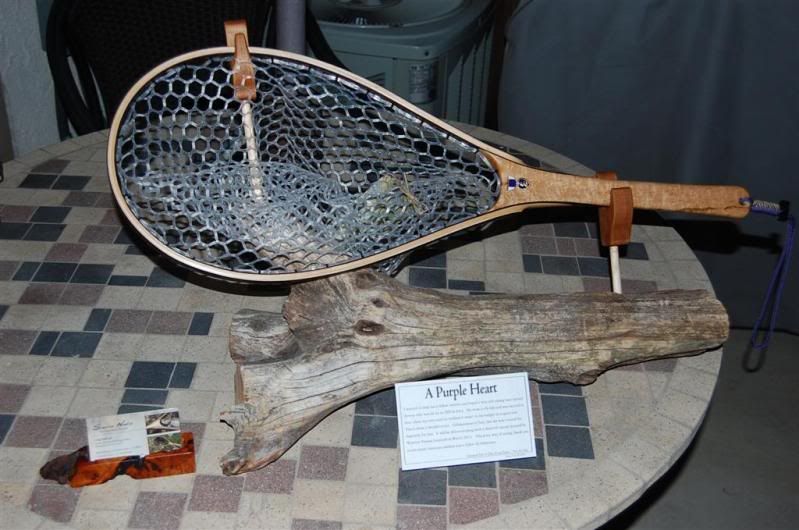
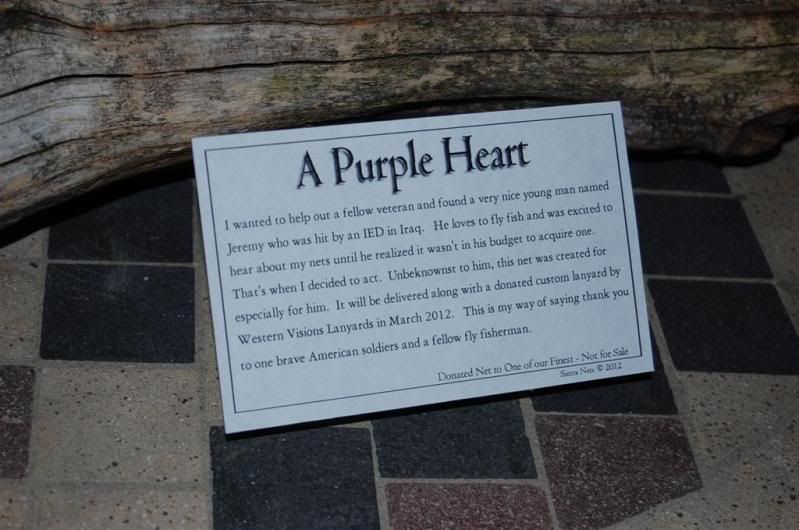
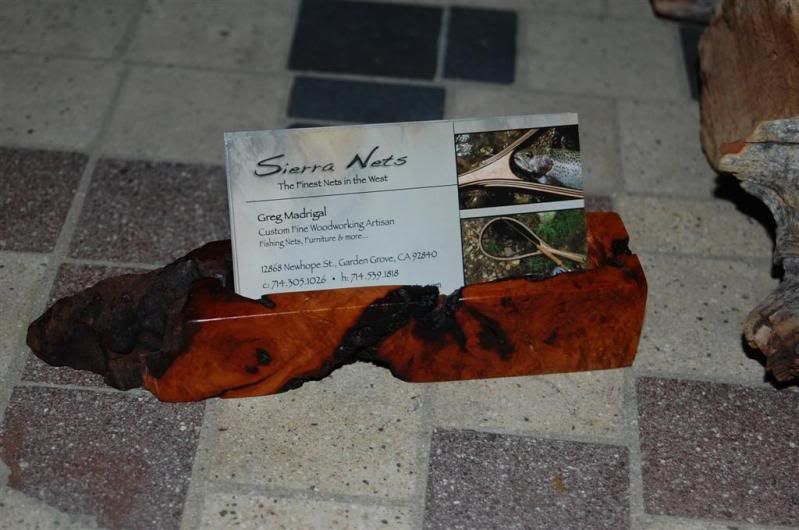
The card holder is Carolina Cherry Burl.
That’s all folks. I hope you enjoyed following the progress. It has been challenging, but worth it. I’ll see you in Pleasanton!
Greg Madrigal
http://www.Sierra-nets.com
